Favorites are a way to pin specific foods that you frequently use, in a serving size that you like, so that you can easily find them when opening the food logger, and log them with a single tap.
You can add a favorite with the following steps:
If you have “optimize for speed” enabled in your food logger settings:
Dashboard > + Button > Search.
You could also use a barcode scan, custom food, or recipe if desired.
Search for and tap on the entry you want to add.
Define the serving size that you want to save.
Tap on the heart-shaped “Favorite” button.
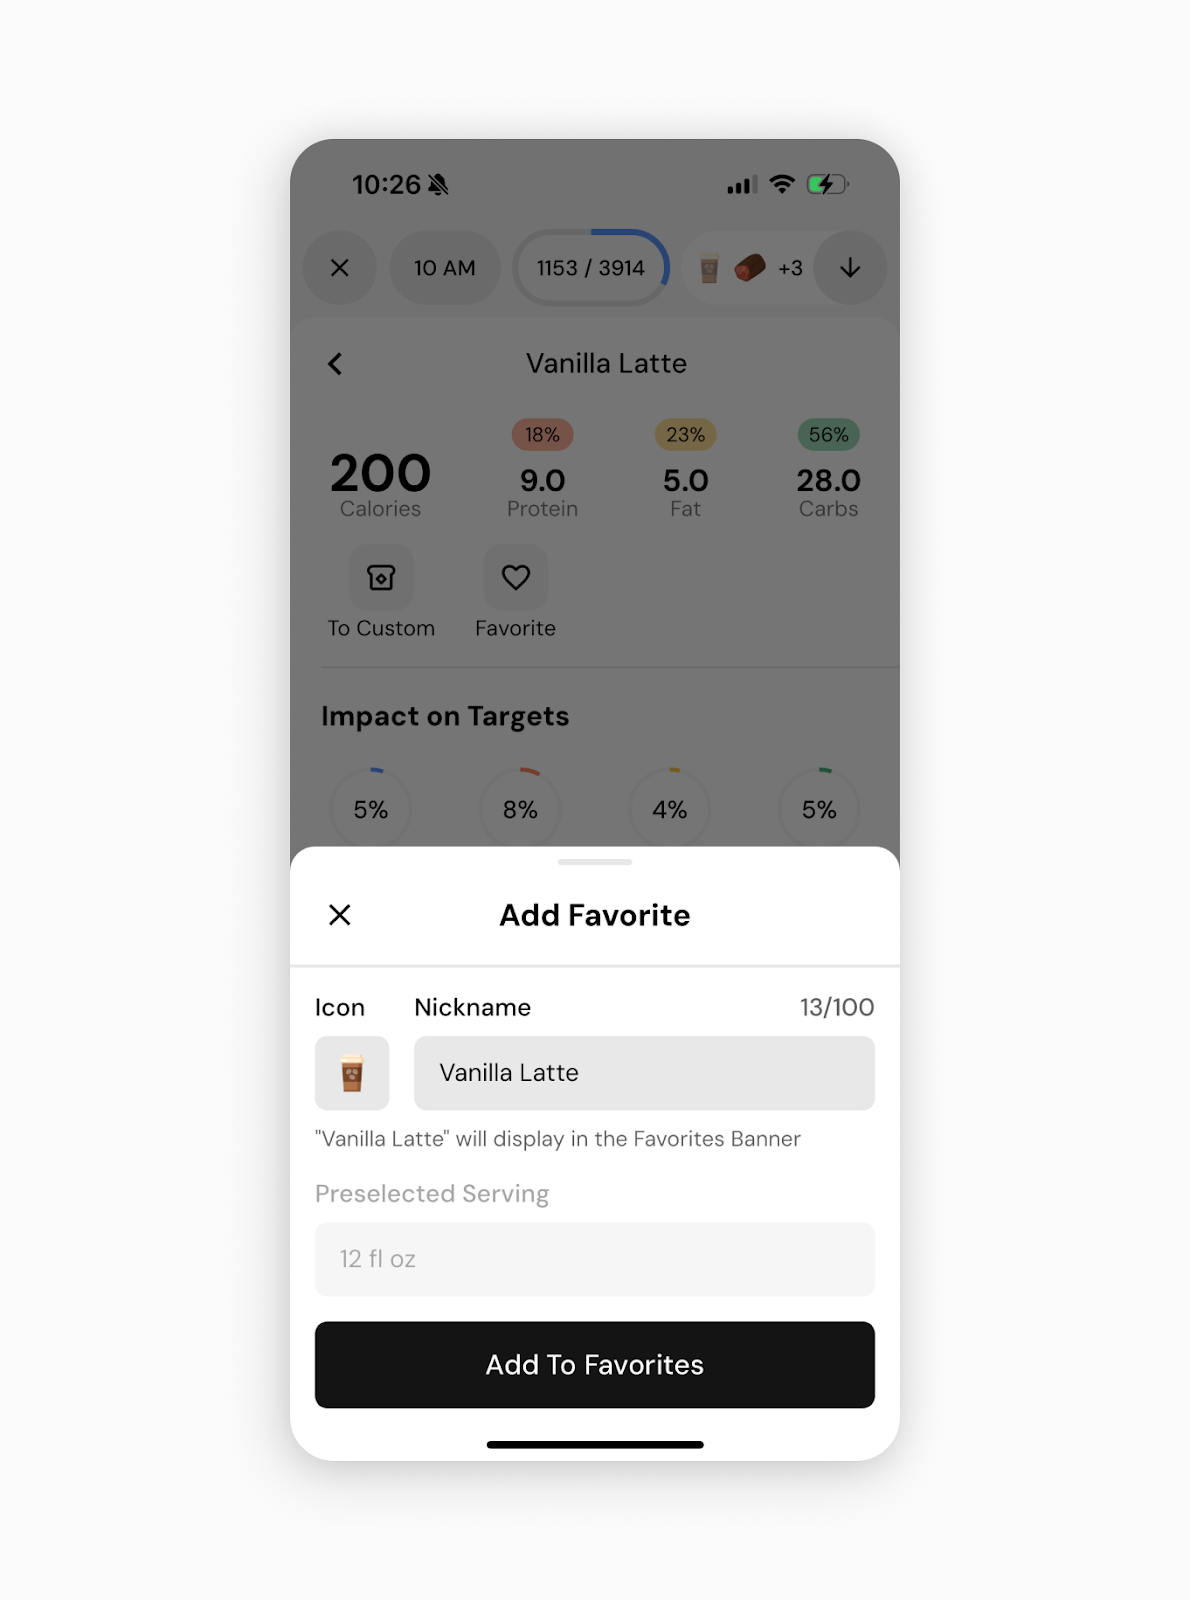
Name your favorite and change the icon if desired by tapping on the icon/name sections.
Tap “Add to Favorites”.
If you have “optimize for context” enabled in your food logger settings:
Dashboard > + Button > Search
You could also use a barcode scan, custom food, or recipe if desired.
Search for and tap on the entry you want to add.
Define the serving size that you want to save.
Tap on the entry again on the plate.
Tap on the heart-shaped “Favorite” button.
Name your favorite and change the icon if desired by tapping on the icon/name sections.
Tap “Add to Favorites”.
Note that when you add a favorite, it will use the serving size that you have selected before tapping on the favorite button. If you wish to edit the serving size, you will need to tap on the X button on the top left of the add favorite popup, or swipe down on it, to close the popup, edit your serving size, and repeat the process.
Once done, your favorite will be saved!
You can add multiple favorites for the same item if desired, by repeating the above steps and selecting a different serving size. This is useful if you tend to use the same items in different serving sizes regularly.
For example, you might save a 16 oz latte as a favorite for your morning coffee, and you could then add a 12 oz latte as another favorite for the afternoon.
This makes it easy to log with a single tap throughout the day even for items that you reuse in different serving sizes.
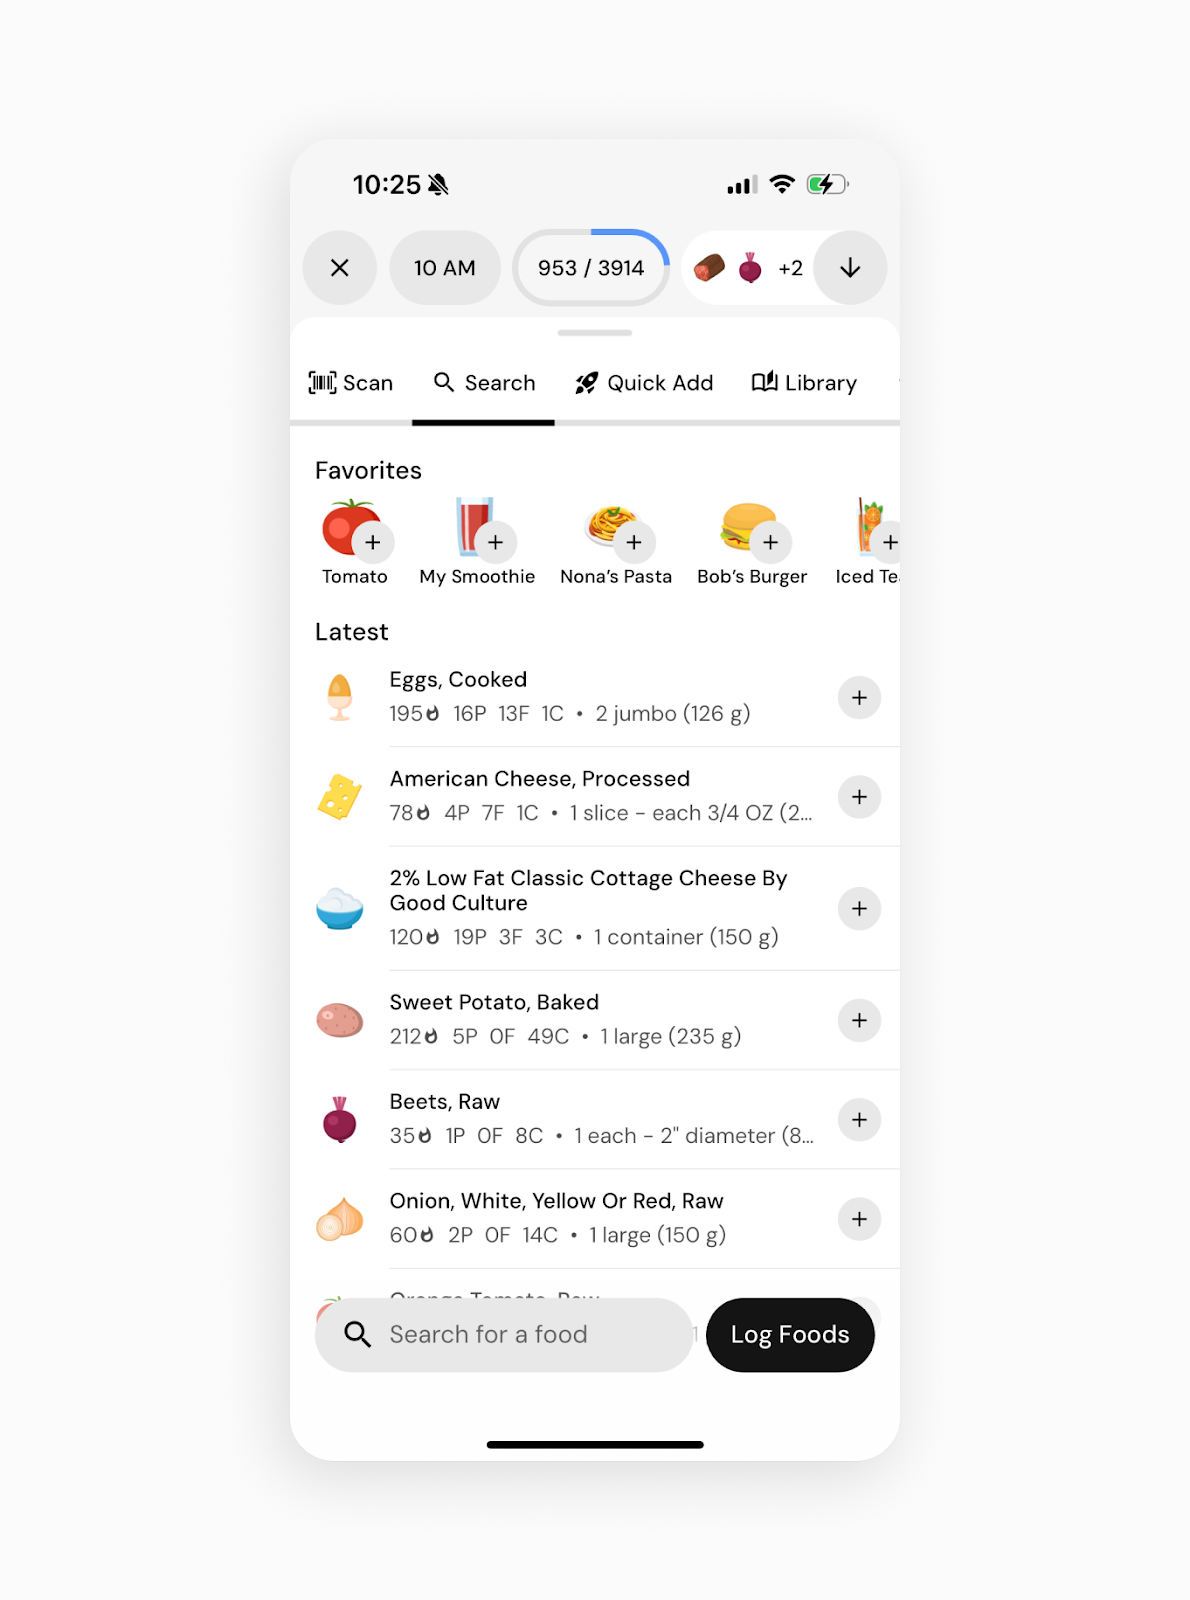
Favorites will appear at the top of your food log when opening the food logger search (Dashboard > + Button > Search), as shown in the image above. You can tap on a favorite to immediately add it to the plate with just one tap and with your set serving size. You can also swipe left/right on your favorites section to scroll between favorites, if you have enough that they don’t all appear at once.
After adding a favorite to the plate, you can log as normal by tapping on the Log Foods button where applicable.
After a favorite is added, you will find it in the favorites section of your library. This can be accessed by going to Dashboard > + Button > Your Foods and then tapping on the heart icon section, or accessing the library from the food logger by tapping on Library, and then on the heart icon.
Once you are in the favorites section, you can use this to add favorites to the plate, edit, or reorder your favorites, as below:
Add to Plate
You can add a favorite to the plate from this screen by tapping on the + button to the right of the favorites entry, or by swiping left and tapping on the + button.
You can also tap on the entry, adjust the serving size, and add this way, if you want to add a different serving size than you originally saved as the favorite.
Edit a favorite
You can edit a favorite by swiping left on the entry and then tapping on the pencil icon. This can be used to change the icon or rename the favorite, in the same way as it was originally created.
Delete a favorite
You can delete a favorite by swiping left on the entry, then tapping on the trash can icon, or by tapping on the entry, then tapping on the Delete button.
Reorder a favorite
Your favorites will appear in your search (see the How to use a favorite section above) in the order in which they were originally added, but you may want to reorganize them later.
You can reorganize your favorites by tapping the reorganize button on the top right, enabling the reorganization mode. When this is enabled, you will see the + buttons to the right of each entry change to = buttons instead. You can tap and hold on this = button to pick up an entry, drag it to its desired position, and release it to drop it and reorganize. When you’re done reorganizing, you can leave this screen, or tap on the reorganize button on the top right again to disable the reorganization mode.